

My Nannie’s Homemade Dill Pickle Recipe

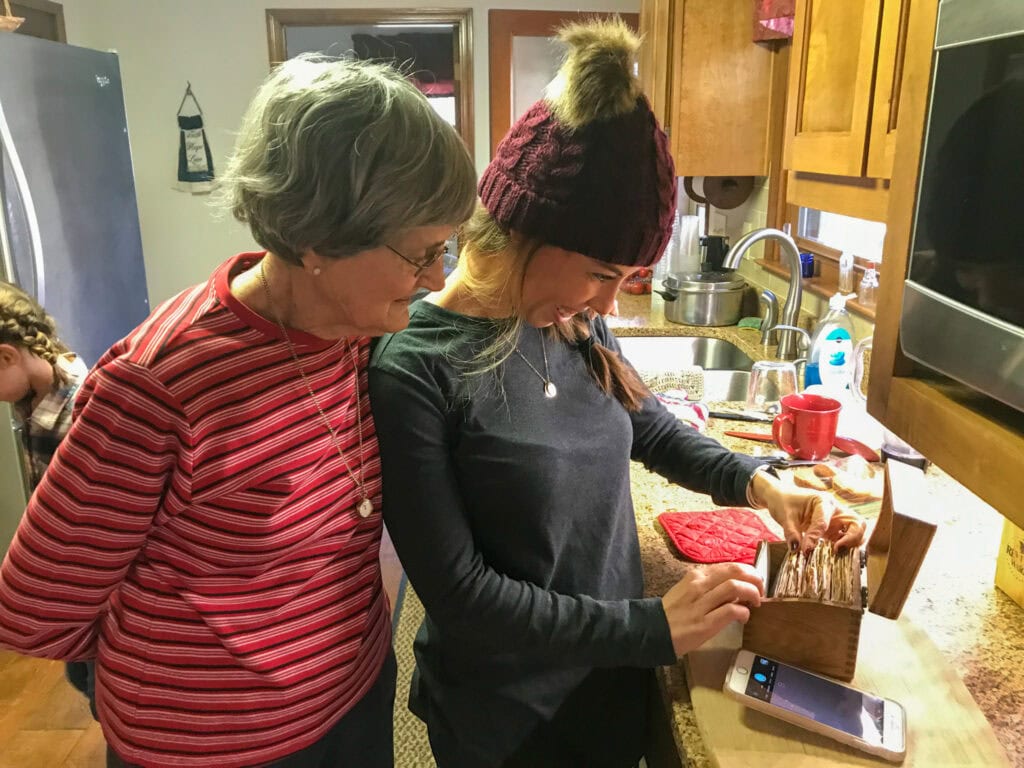
There are some recipes that are about so much more than the food itself, and this is one of them. While I (and my brother) would declare this THE BEST PICKLE RECIPE EVER, I don’t know if that’s more because of the taste or the tradition.
As kids, and as adults, actually, my Nannie always had a fresh jar of pickles ready for us when we visited. She gifted us jars of homemade pickles, along with bags of frozen blueberries picked from her bushes and pecans she gathered and shelled. I appreciate all she did even more from where I stand now, all the growing (back in her day she had a fabulous garden), preserving, and generously sharing the good stuff with the people she loved.
Now that I’m growing cucumbers and filling my own shelves with jars of pickles, I’m so happy to be following in her footsteps. I wish I could show her what I’m doing now, but I’m hopeful she sees it in some way. I think she’d get a kick out of just how invested I’ve become in achieving the perfect pickle crunch.
This recipe is based on hers, with a few small adjustments.
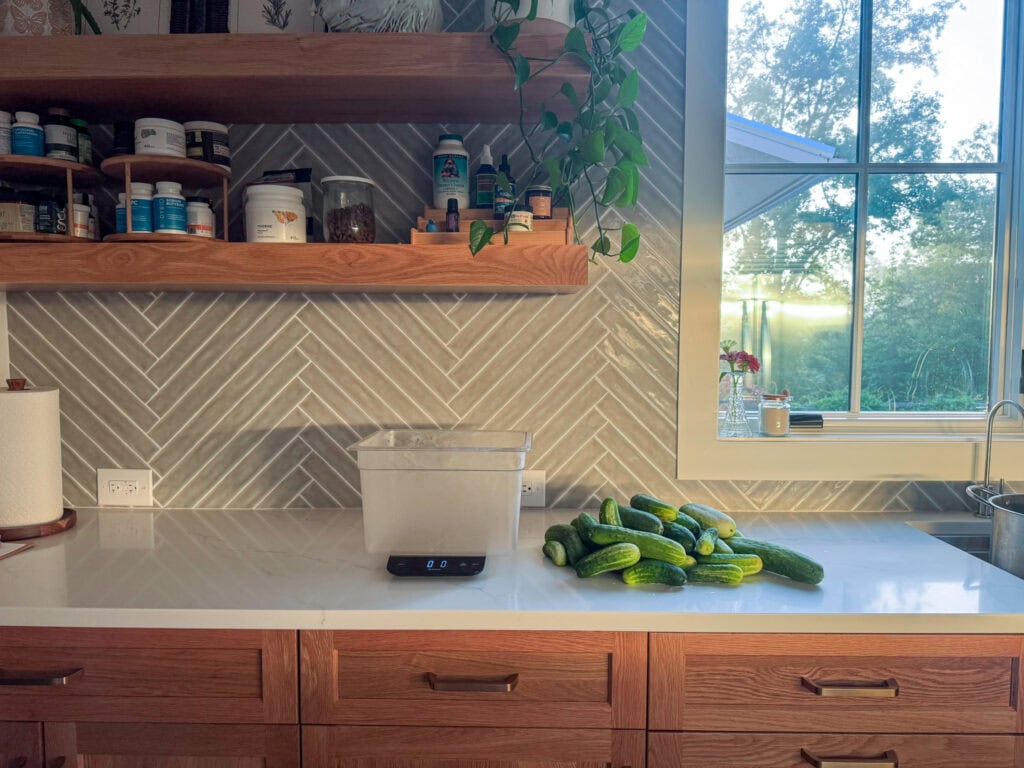
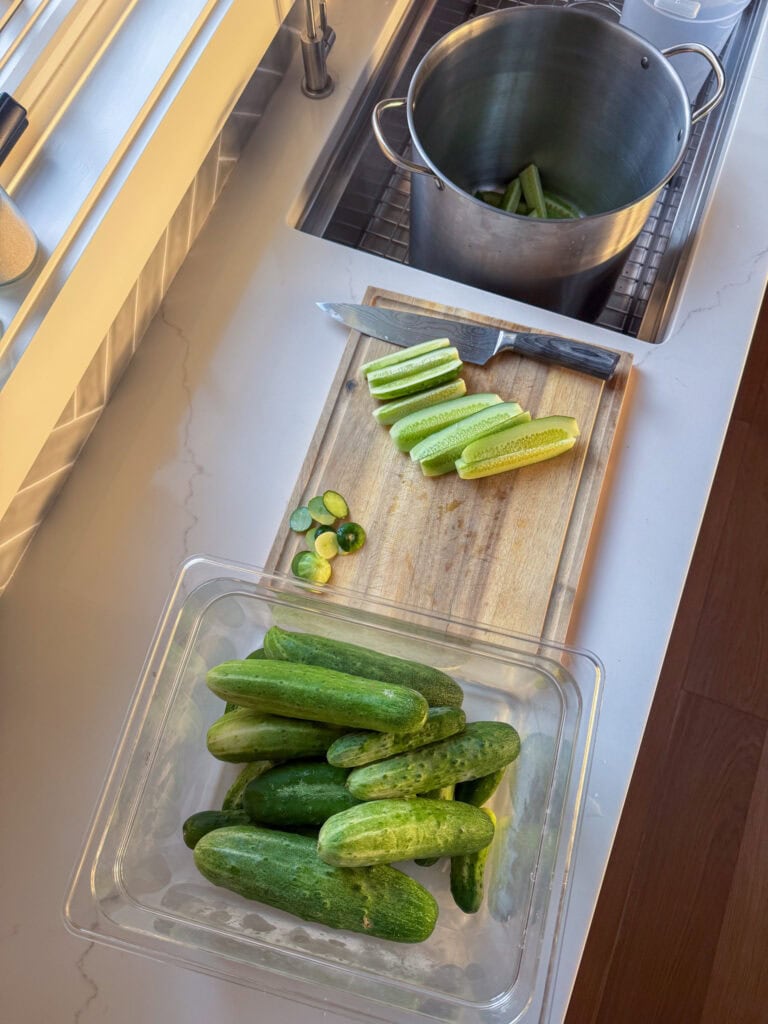
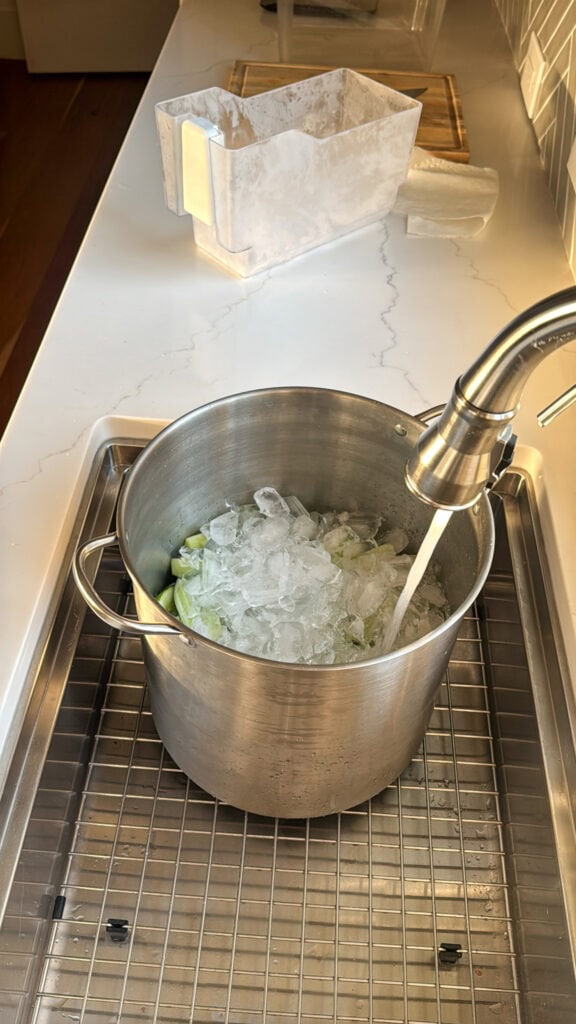
Nannie soaked her cucumbers in lime before canning them, but I skip that step and use muscadine grape leaves instead. The leaves contain tannins that help the pickles stay crisp. Since we have muscadines growing nearby, they’re easy for me to grab, but you can also use calcium chloride if you don’t have access to grape leaves.
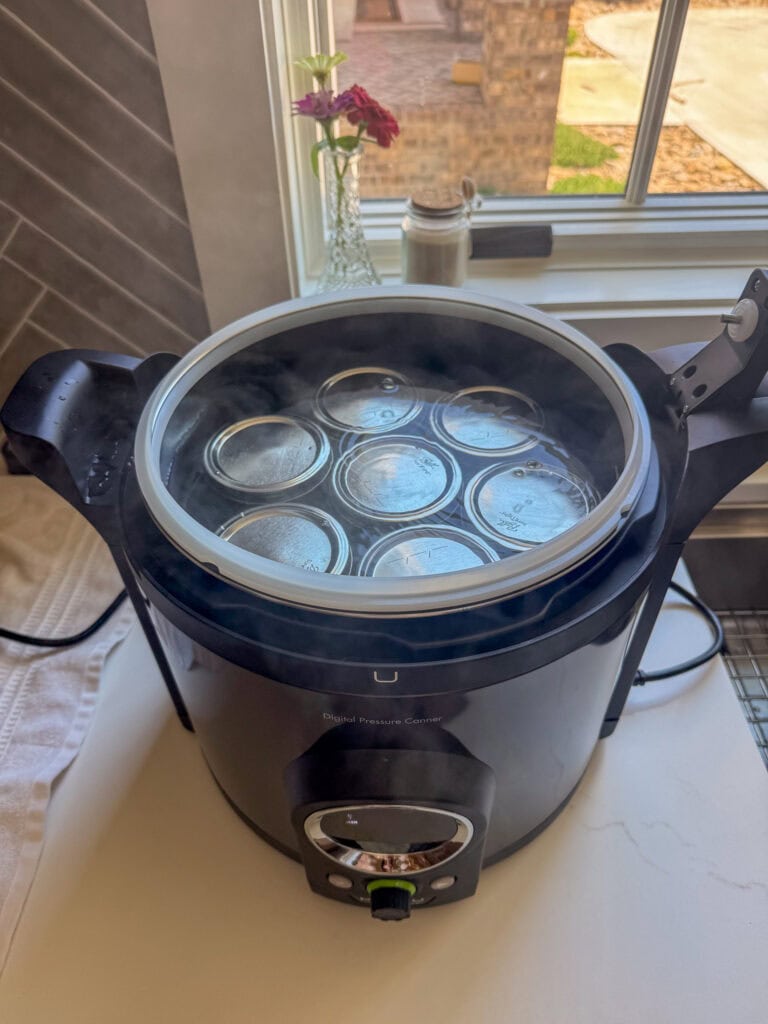
I also adjusted the measurements because I prefer canning pickles in pint jars rather than quarts. Pints are a great size for our family, and they fit easily into my electric canner. This recipe yields 7 pints because that’s how many I can fit at once into my canner. A traditional stovetop water-bath canner works just fine, too, though!
These are the pickles I keep making again and again: garlicky, dilly, tangy, and have good crunch. So are the world’s best pickle? In my mind, yes.
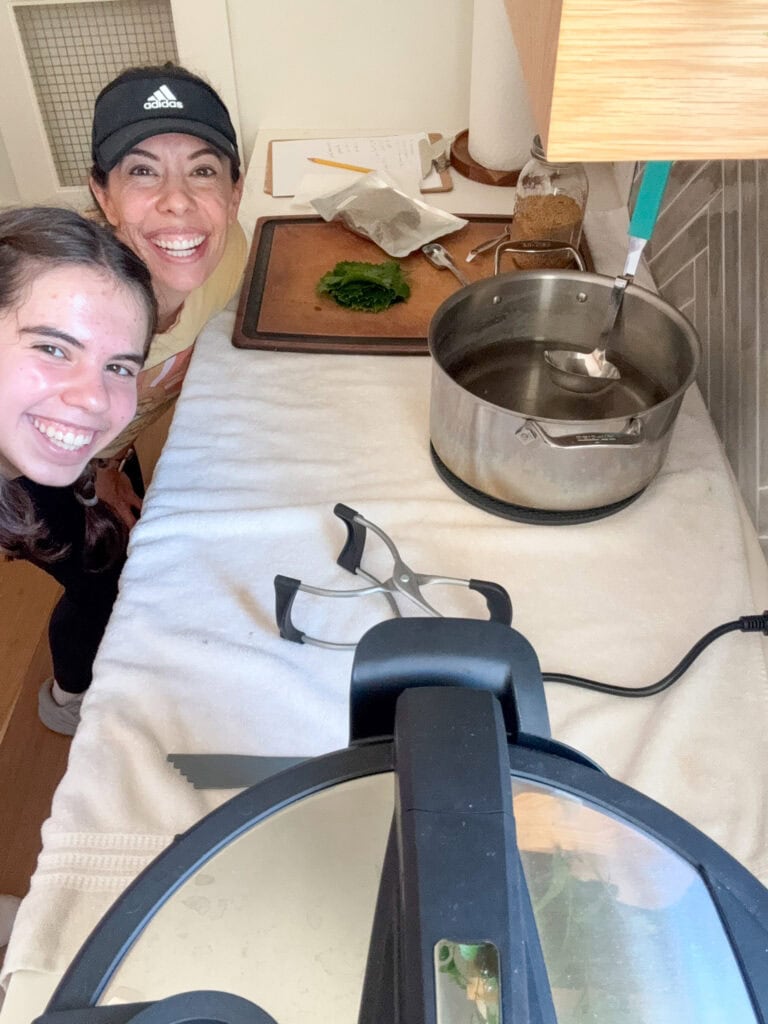
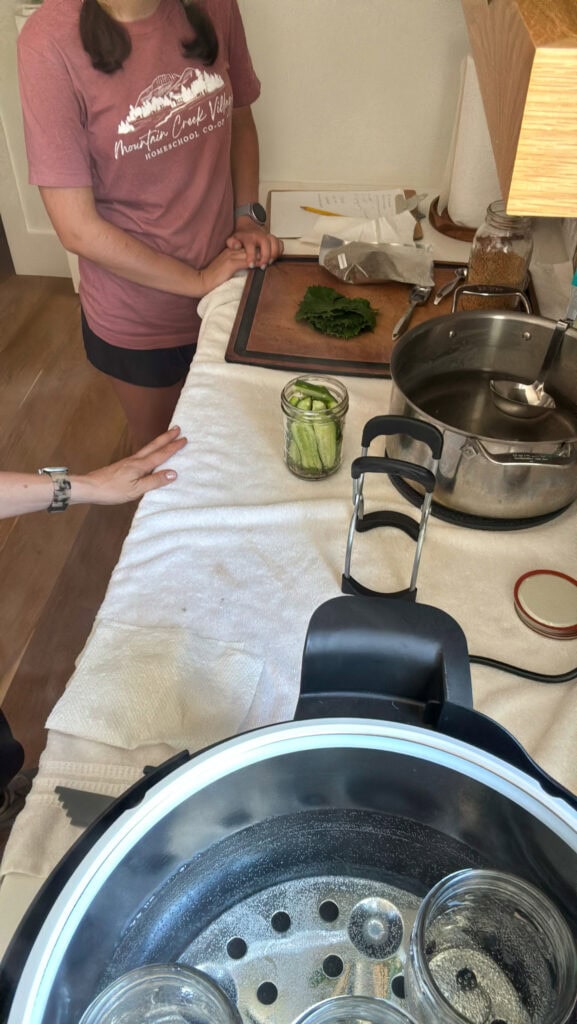
A Few Tips Before You Begin
Start with fresh pickling cucumbers whenever possible. Ideally 3-5 inches long, which means they are firm and fresh and they also fit pretty nicely into pint jars at this size. Trim off both ends, especially the blossom end, which can contain enzymes that soften pickles.
After cutting the cucumbers into spears, cover them with ice and then add cold water. Let them soak for at least three hours and up to six. This cold soak helps firm them up before they go into the jars.
Pack the cucumber spears tightly, but do not crush them. They will shrink slightly during processing, so fit in as many as you comfortably can.
Finally, take the time to slide a bubble-removing tool or thin spatula around the inside of each jar before processing. Trapped air can change the headspace, so recheck it after releasing the bubbles and add more brine if needed.
See all my canning recommendations here.
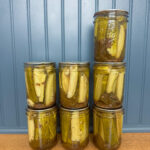
My Nannie’s Homemade Dill Pickle Recipe
Yield: 7 pints 1x
Description
- 5 pounds fresh pickling cucumbers
- Ice
- Cold water
- 6 cups water
- 3 cups white vinegar with 5% acidity
- 3 tablespoons pickling salt
- 7 tablespoon dill seed (1 per pint jar)
- 7 garlic clove (1 per pint jar)
- 7 teaspoon mustard seed (1 per pint jar)
- 7–14 clean muscadine grape (1–2 per pint jar)
- Calcium chloride, optional, used according to package directions
Instructions
- Wash the cucumbers thoroughly. Trim both ends, then slice the cucumbers lengthwise into spears.
- Place the cucumber spears in a large bowl or clean container. Cover them generously with ice, then pour in enough cold water to submerge them. Let them soak for 3–6 hours.
- Prepare your pint jars, lids, and water-bath canner according to the manufacturer’s instructions.
- To make the brine, combine 6 cups of water, 3 cups of white vinegar, and 3 tablespoons of pickling salt in a large pot.
- Bring the brine to a boil, then reduce the heat and simmer until the salt has fully dissolved.
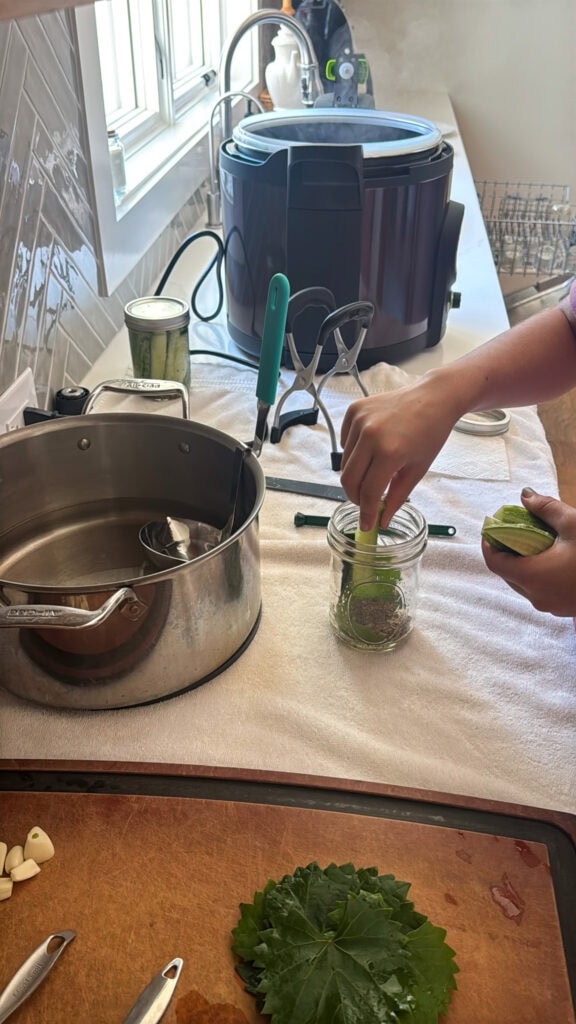
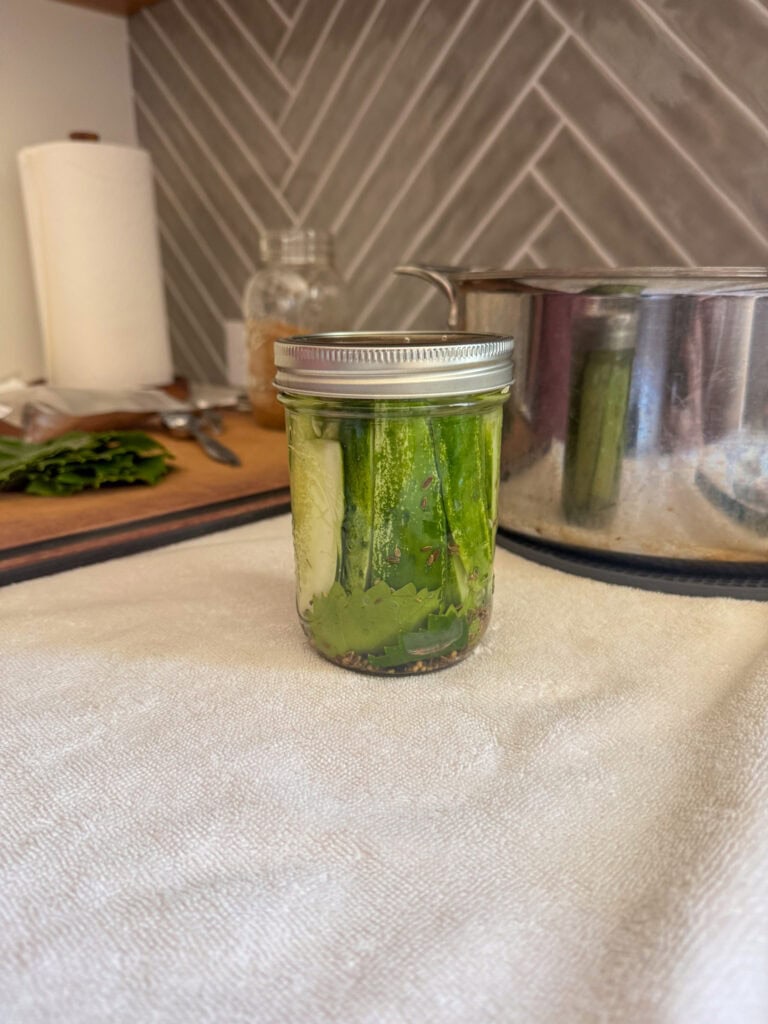
- Add 1 tablespoon dill seed, 1 garlic clove, 1 teaspoon mustard seed, and 1–2 muscadine grape leaves to each prepared pint jar. If using calcium chloride instead of grape leaves, add it according to the package directions.
- Pack the cucumber spears tightly into each jar, leaving room for the brine to circulate around them.
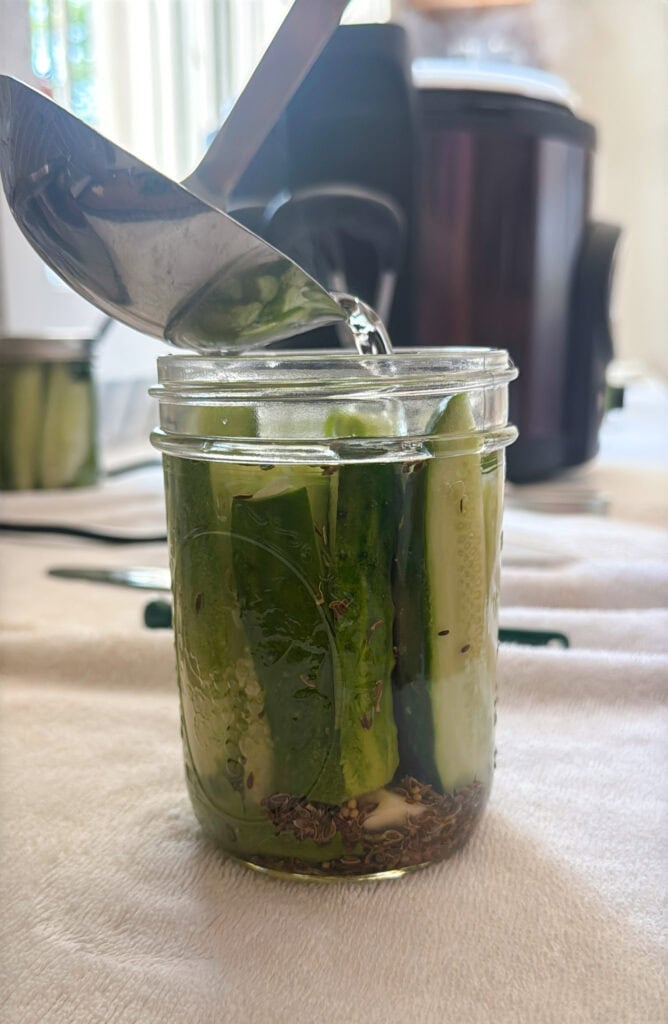
- Ladle the hot brine over the cucumbers, leaving ½ inch of headspace.
- Remove any trapped air bubbles. Recheck the headspace and add additional brine as needed.
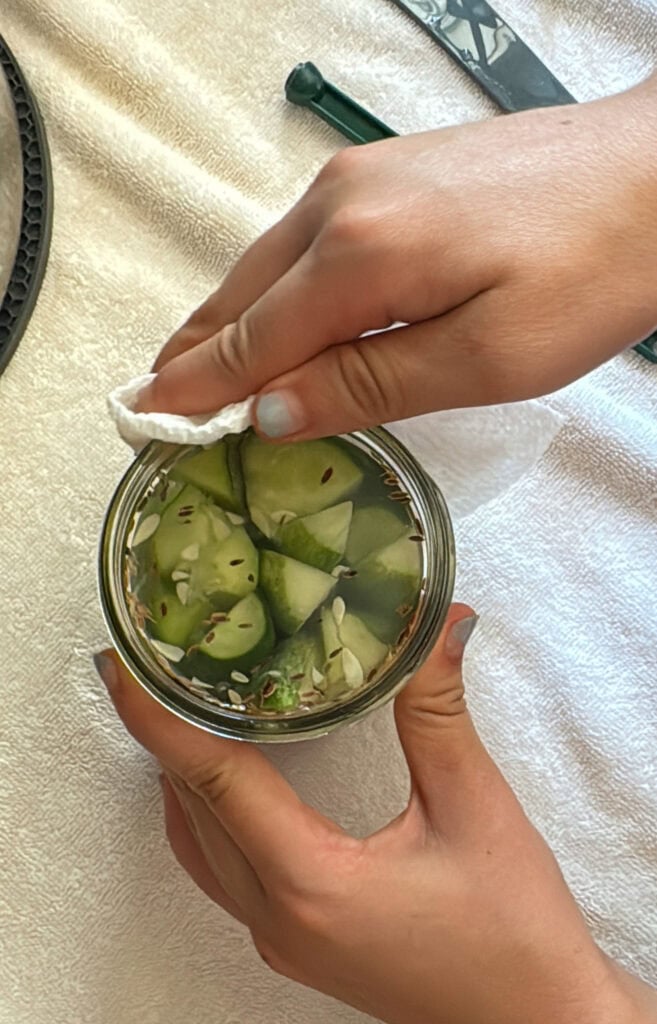
- Wipe the rims of the jars, center the lids, and secure the bands until fingertip-tight.
- Process the pint jars in a boiling-water canner for 10 minutes, following the instructions for your specific canner.
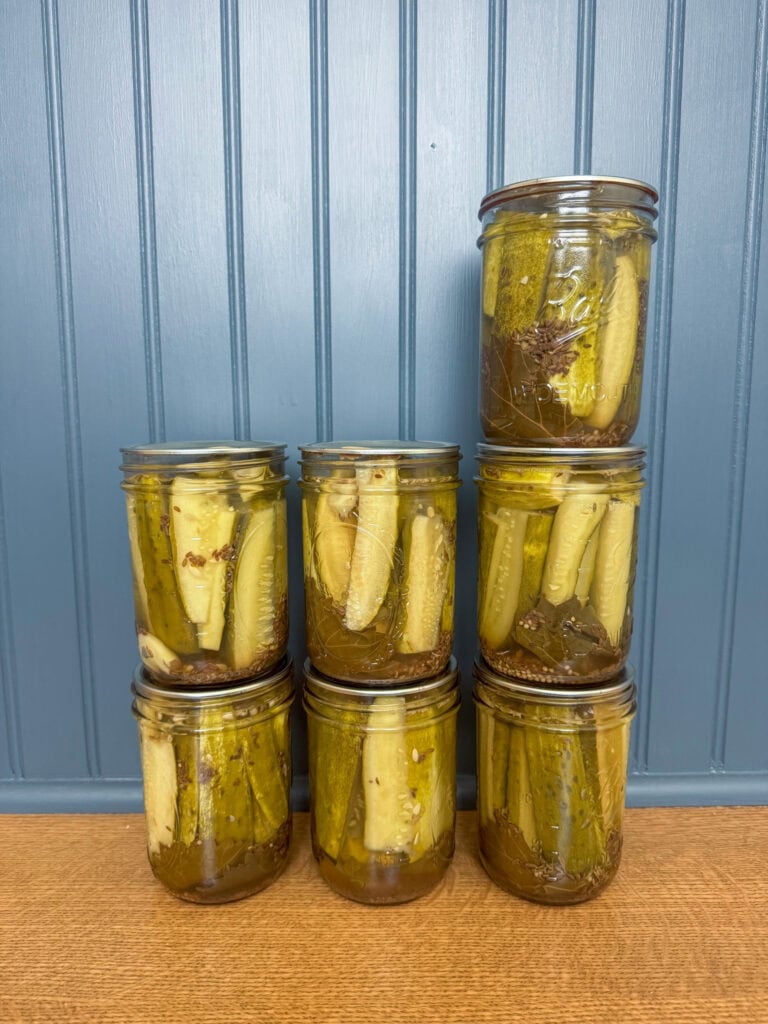
- Carefully remove the jars and allow them to cool undisturbed. Once cooled, check that each jar has sealed properly before labeling and storing.
Notes
- I use muscadine grape leaves to help keep the pickles crunchy. Regular untreated grape leaves may also be used.
- Calcium chloride can be used instead of grape leaves. Follow the measurements provided on the product packaging.
- An electric canner or traditional stovetop water-bath canner will work for this recipe.
- Allow the pickles some time to sit (at least 1-2 week minimum) before opening so the flavors can fully develop.
Every time I look at these jars lined up on the shelf, I think of Nannie. I remember the pickles, of course, but also the blueberries, pecans, and the quiet way she took care of all of us through the food she grew, cooked, served, and preserved. Getting to carry a small piece of that tradition forward feels incredibly special.

Advertisement - Continue Reading Below
Latest


Advertisement - Continue Reading Below